

Converting PDFs into JPGs is a simple process that can be easily done with the right tools. Whether you are a business owner, marketer, or content creator, understanding how to convert documents to images will help you save time and money. In this article, we’ll show you how to convert pdf to jpg images in 6 easy steps.
Step 1: Find the Right Conversion Tool
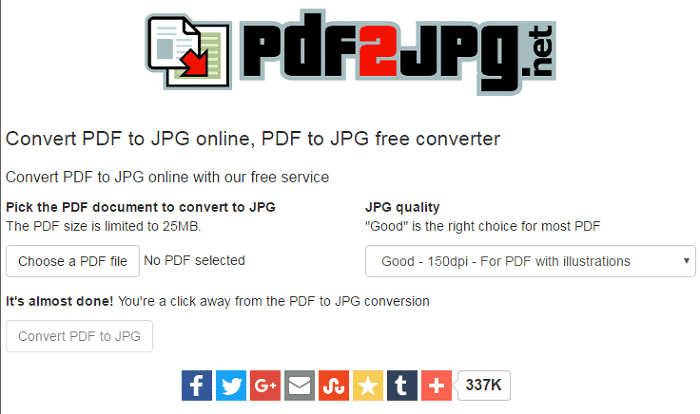
The first step to converting your PDF files into quality JPG images is finding the right conversion tool. There are many online tools available for free that offer conversions from PDF to other formats including JPG. It is important to find a reputable tool that will provide you with accurate results without damaging your original document. If you need further assurance of quality, consider using a paid service that offers extra features such as batch processing and more control over file size and resolution.
Step 2: Upload Your File
Once you have selected the right conversion tool for your needs, the next step is uploading your file. Most conversion tools allow users to upload documents directly from their computer or by providing a link if stored online such as Google Drive or Dropbox. Depending on the size of your file, it may take some time for the file to be uploaded successfully before continuing with the next step.
Step 3: Choose Your Output Format
The third step in this process is choosing your output format. Select which format you want to convert your document into – typically JPG – then select any additional settings such as page range selection if applicable or resolution quality level desired for higher quality results. This step allows you to customize and fine tune the output of your converted document according to your specific needs and preferences before proceeding with conversion.
Step 4: Download Your Converted File Once all settings have been finalized and applied, click on “Convert” or “Download” depending on what option is available on your chosen converter tool site. This will initiate the download process for your newly converted file in its new format ready for use! Depending on the size of your file it may take some time for it to download completely onto your device so please be patient while waiting for this process to complete successfully before attempting any further actions with it.
Step 5: Check Results Now that you have downloaded and saved your newly converted document in its new format (JPG) it’s time to check out how well it turned out! Open up your converted file in whatever program/applications necessary (e.g., Adobe Reader) to view its contents properly and ensure that all data has been transferred successfully without any issues arising from its conversion process (e.g., image distortion). Step 6: Share & Enjoy! The last step after ensuring everything looks great is sharing & enjoying! Posting/sharing/viewing/etc…your newly converted document in its new format (JPG) should now be possible without any issues arising from compatibility errors between programs due to incompatible formats between them both! Go ahead & share away!
Conclusion: Converting documents from one format into another can seem like an intimidating task but with these 6 simple steps we hope we have shown just how easy it can be when done correctly using reputable online tools available today! So go ahead and try converting those pesky old-formatted documents into something more modern & trendy – trust us; once you get started there will be no stopping as applications/options for them become endless afterwards! Good luck & enjoy converting those documents today!